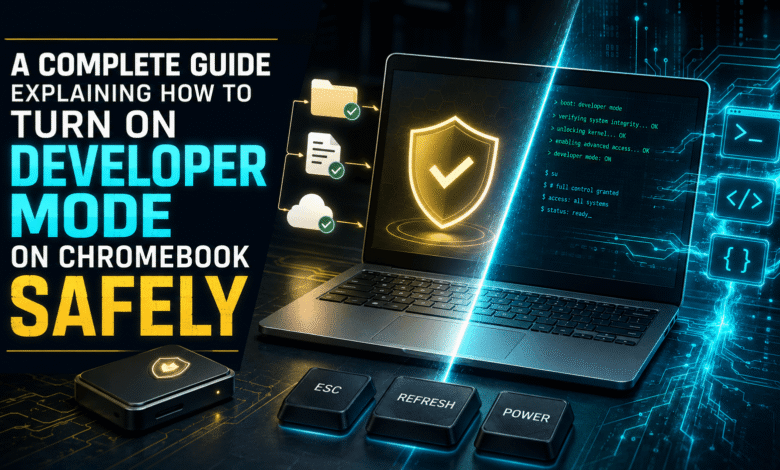
Learning how to turn on developer mode on Chromebook can unlock deeper system control and experimentation.
However, the process removes important safeguards and erases every locally stored file during activation.
This guide explains each screen, shortcut, warning, and recovery step without assuming advanced technical knowledge.
You will also learn when Developer Mode is unnecessary for your intended Chromebook project.
Following the preparation advice carefully prevents avoidable panic, lost downloads, and confusing startup problems.
Its Tech Club recommends reading every section completely before touching any recovery keyboard combination.
What Exactly Is Chrome OS Developer Mode
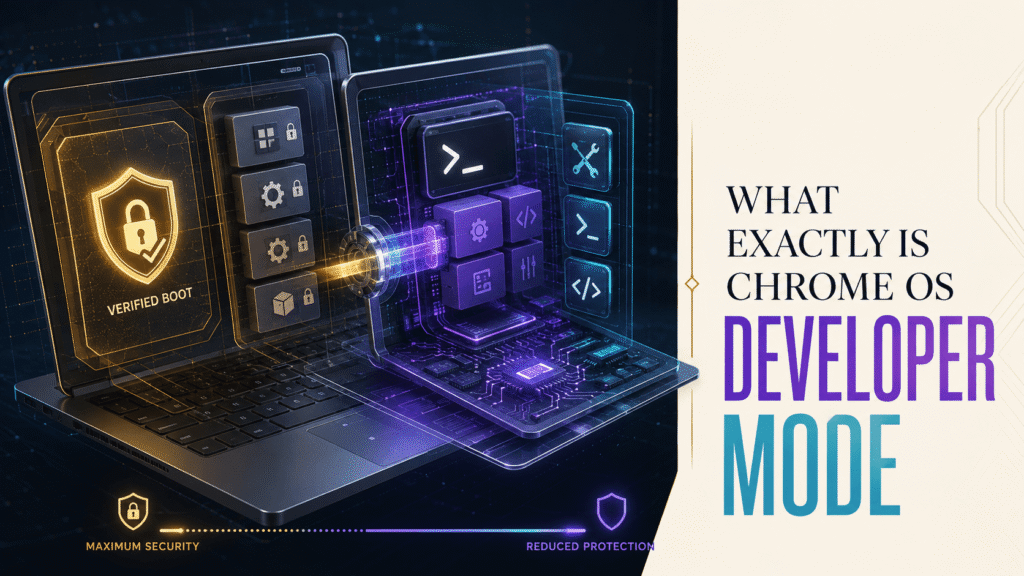
Chrome OS Developer Mode is an advanced device state intended for development, testing, and system modification.
Production Chromebooks normally use verified boot to detect unauthorized changes during every startup sequence.
Developer Mode relaxes that protection, permits deeper command access, and supports selected custom boot options.
It can provide a root-capable shell for experienced users who understand Chrome OS internals and security consequences.
This state differs completely from the Dev update channel inside normal Chrome OS settings.
The Dev channel delivers experimental updates, while Developer Mode changes fundamental boot security behavior.
It also differs from browser developer tools used for inspecting webpages and debugging JavaScript.
Regular laptop owners usually consider this mode for software testing, advanced customization, or alternate environments.
Nevertheless, many coding tasks already work through the supported Linux development environment without changing boot security.
Therefore, identify your exact goal before accepting a permanent warning screen and mandatory device reset.
You may also like:
Crucial Warnings Before Taking the Plunge

Switching into Developer Mode triggers a mode transition wipe that clears the Chromebook’s stateful partition.
Files inside Downloads, locally stored documents, Android application data, and unsynchronized settings can disappear permanently.
Upload valuable files into cloud storage, then copy irreplaceable material onto trusted external storage.
Open important folders afterward and confirm those backup copies actually contain usable files.
You should also synchronize browser bookmarks, passwords, extensions, and settings through your account.
Developer Mode reduces protection because verified boot becomes more permissive toward modified system software.
Only install trusted packages, review unfamiliar commands carefully, and avoid using sensitive accounts unnecessarily.
Managed workplace or school Chromebooks may block Developer Mode through an administrator-controlled enterprise policy.
Never attempt bypassing organizational restrictions, because the device owner must authorize configuration changes.
Warranty consequences vary between manufacturers, countries, service agreements, and the modification causing reported damage.
The mode itself does not create one universal warranty result for every Chromebook owner.
Still, unsupported modifications may cause excluded damage, so review your warranty terms before proceeding.
Keep the battery charged, connect the power adapter, and reserve enough uninterrupted time.
Finally, remember that returning to verified status performs another complete local data wipe.
You may also like:
The Step by Step Guide to How to Turn On Developer Mode on Chromebook
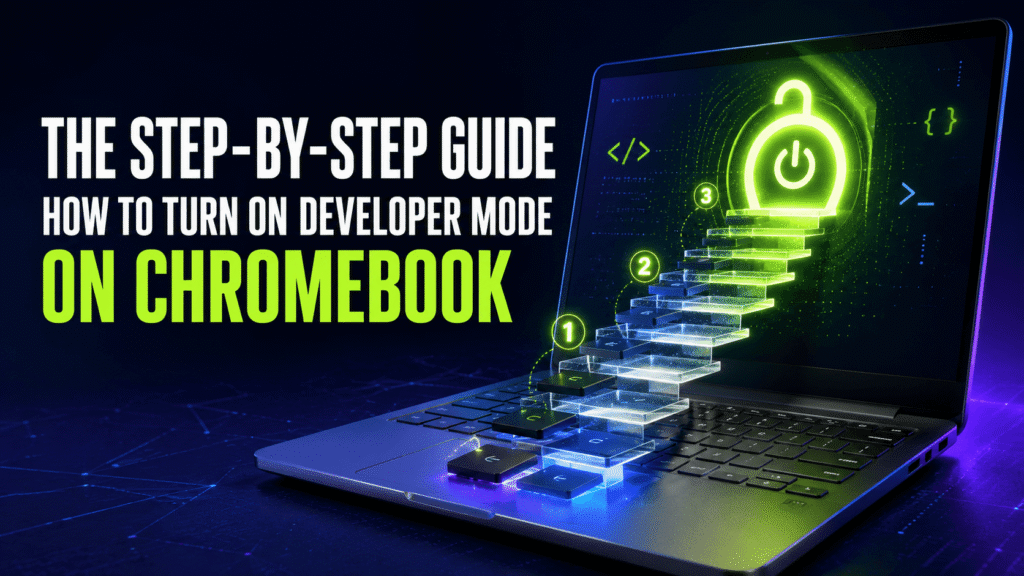
These instructions cover mainstream Chromebooks with keyboards, although firmware wording varies between generations and models.
Write down your Chromebook model number because recovery instructions can differ across hardware generations.
Photographing the original recovery screen can also help you compare every later firmware prompt.
- Finish your verified backup, sign out, and shut down the Chromebook completely.
- Hold Esc and Refresh first, then tap Power while continuing both keys.
- Release the held keys only after the recovery interface appears on the display.
- Some newer models require Esc, Full Screen, and Power instead of Refresh.
- The recovery message may mention missing or damaged Chrome OS, although nothing is necessarily broken.
- On modern firmware, choose Advanced options, select Enable developer mode, and confirm carefully.
- On classic firmware, press Ctrl + D, then press Enter when verification confirmation appears.
- Allow the Chromebook to restart and complete its automatic mode transition without interruption.
- Select Boot from internal disk when offered, or press Ctrl + D instead.
- Complete the standard welcome setup after Chrome OS finishes wiping and preparing the device.
Timing becomes easier when you hold Esc and Refresh before briefly tapping the power button.
Do not repeatedly press every key together, because inconsistent timing can produce an ordinary restart.
For keyboard less tablets, hold Power, Volume Up, and Volume Down for ten seconds.
Then press both volume buttons together and select the confirmation option using physical controls.
Consult model documentation whenever your buttons, recovery interface, or displayed choices differ significantly.
You may also like:
Surviving the Scary OS Verification Warning Screen
The developer warning screen appears during every startup, and its alarming language serves an intentional purpose.
It reminds anyone using the Chromebook that standard verified boot protection remains reduced.
After roughly thirty seconds, some devices produce a loud beep before continuing their boot process.
That beep does not indicate hardware failure, corrupted storage, or an unsuccessful Developer Mode transition.
Press Ctrl + D to boot Chrome OS from internal storage on classic keyboard models.
Newer interfaces may instead offer Boot from internal disk through an onscreen firmware menu.
Waiting usually continues automatically, although startup takes longer while the warning remains visible.
Avoid pressing the spacebar casually, because classic firmware uses that key to restore verification.
That accidental choice can exit Developer Mode and wipe local information after confirmation.
Teach every regular device user what this screen means before sharing the Chromebook.
You may also like:
Cool Things You Can Finally Do With Your Device
Developer Mode can expose a root-capable command environment for advanced debugging and deeper Chrome OS experimentation.
Experienced users can inspect system behavior, test scripts, and modify supported development configurations.
External USB or SD booting may become possible after additional command-line configuration on compatible hardware.
Alternative bootloaders and operating systems require model-specific support, careful research, and sometimes firmware modifications.
Compatibility is never guaranteed, so prepare official recovery media before attempting extensive system changes.
Some owners enable this mode mainly to sideload third-party Android APK files outside the Play Store.
Only obtain APK files from sources you trust, because sideloaded software receives fewer marketplace checks.
However, supported newer Chromebooks can enable ADB debugging through Linux without entering Developer Mode.
That safer route preserves verified boot while supporting Android application development and direct testing.
The regular Linux development environment also installs command-line tools, code editors, and compatible integrated development environments.
Try those supported options first whenever your objective involves programming rather than boot-level modification.
Developer Mode remains valuable when genuine root access or custom boot behavior is essential.
Freedom increases substantially, but responsibility for security, stability, backups, and troubleshooting increases equally.
You may also like:
How to Safely Return to Normal Verified Status
Back up every new local file before returning, because disabling Developer Mode triggers another wipe.
Restart the Chromebook and wait for the developer warning or firmware options screen.
Modern interfaces usually provide Return to secure mode or Enable OS Verification as selectable choices.
Choose the appropriate option, confirm the transition, and keep the charger connected throughout processing.
On classic firmware screens, pressing the spacebar begins restoring verification after an additional confirmation.
Press that key only when you deliberately intend to leave Developer Mode permanently.
Chrome OS will erase local information, restore normal verification, restart, and present the welcome setup.
Sign into your account, restore synchronized settings, and copy only verified backup files.
If normal restoration fails after extensive system changes, official recovery media may reinstall factory Chrome OS.
Create that media on another computer and follow instructions matching the exact Chromebook model.
Managed devices may automatically reenroll after setup, depending upon their administrator’s configured policies.
You May also like:
Conclusion
Its Tech Club explains how to turn on developer mode on Chromebook safely through careful preparation.
Backups, warranty research, trusted software, and patient reading protect both your files and device.
The warning screen and loud beep are expected reminders rather than evidence of damage.
Choose Developer Mode only when supported Linux, Play Store, or ADB options cannot meet your goal.
When experimentation ends, restore verified status carefully and prepare for the final local data wipe.